
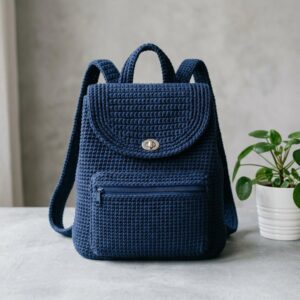
Last summer, I was packing for a weekend trip to the coast and realized every bag I owned was either too bulky or too flimsy. I wanted something sturdy enough to hold my essentials but stylish enough to wear around a seaside town without looking like I was heading to the gym. That frustration sent me straight to my yarn stash. Three prototypes and a lot of frogging later, this backpack was born. I called it the Coastal Backpack because it reminds me of those breezy harbor towns with their navy blue shutters and weathered rope details. If you have been searching for a practical crochet project that actually gets used every single day, this one is for you.
Why You Will Love This Crochet Backpack Pattern
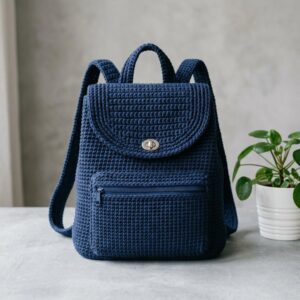
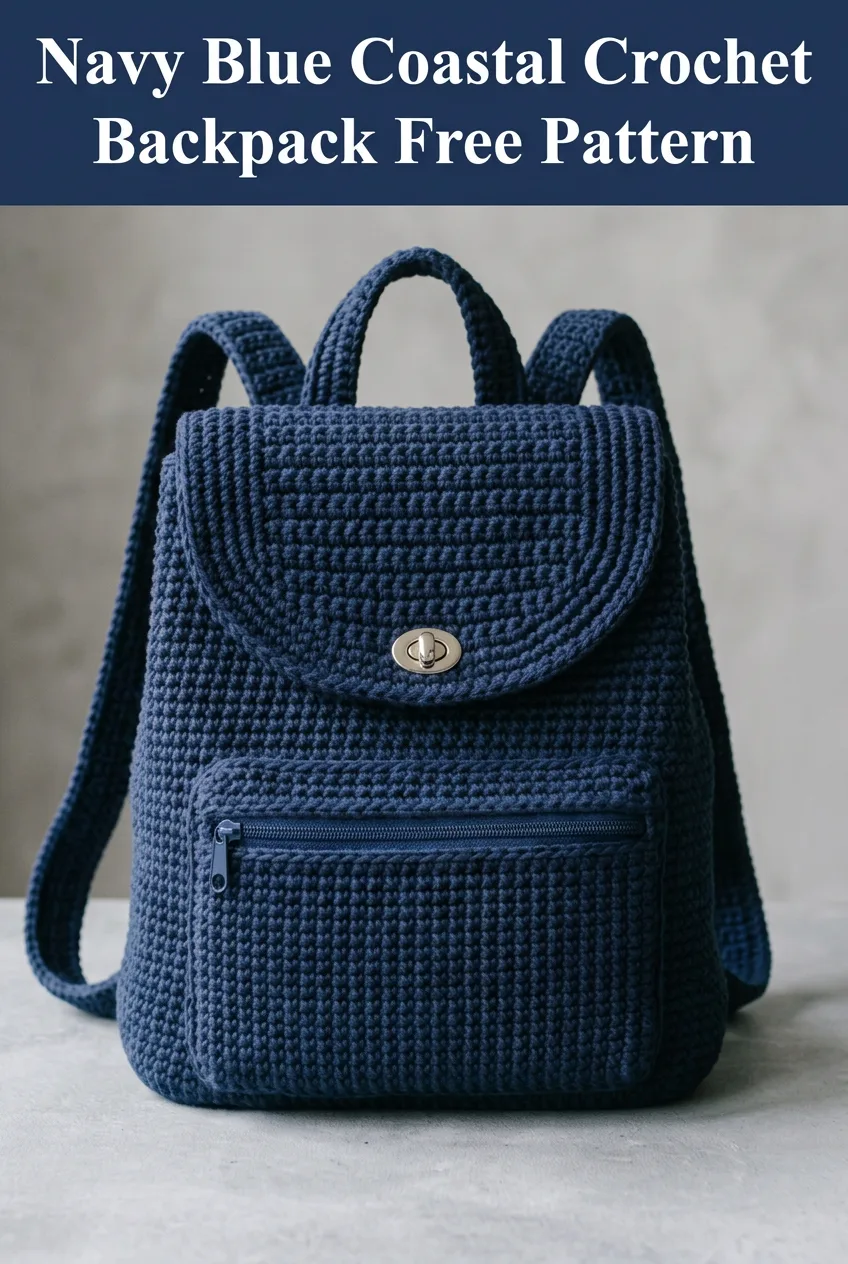
This Navy Blue Coastal Crochet Backpack combines clean modern lines with incredible durability. The tight stitch construction creates a fabric sturdy enough to hold books, a water bottle, your phone, and all those little things that tend to float around at the bottom of bags.
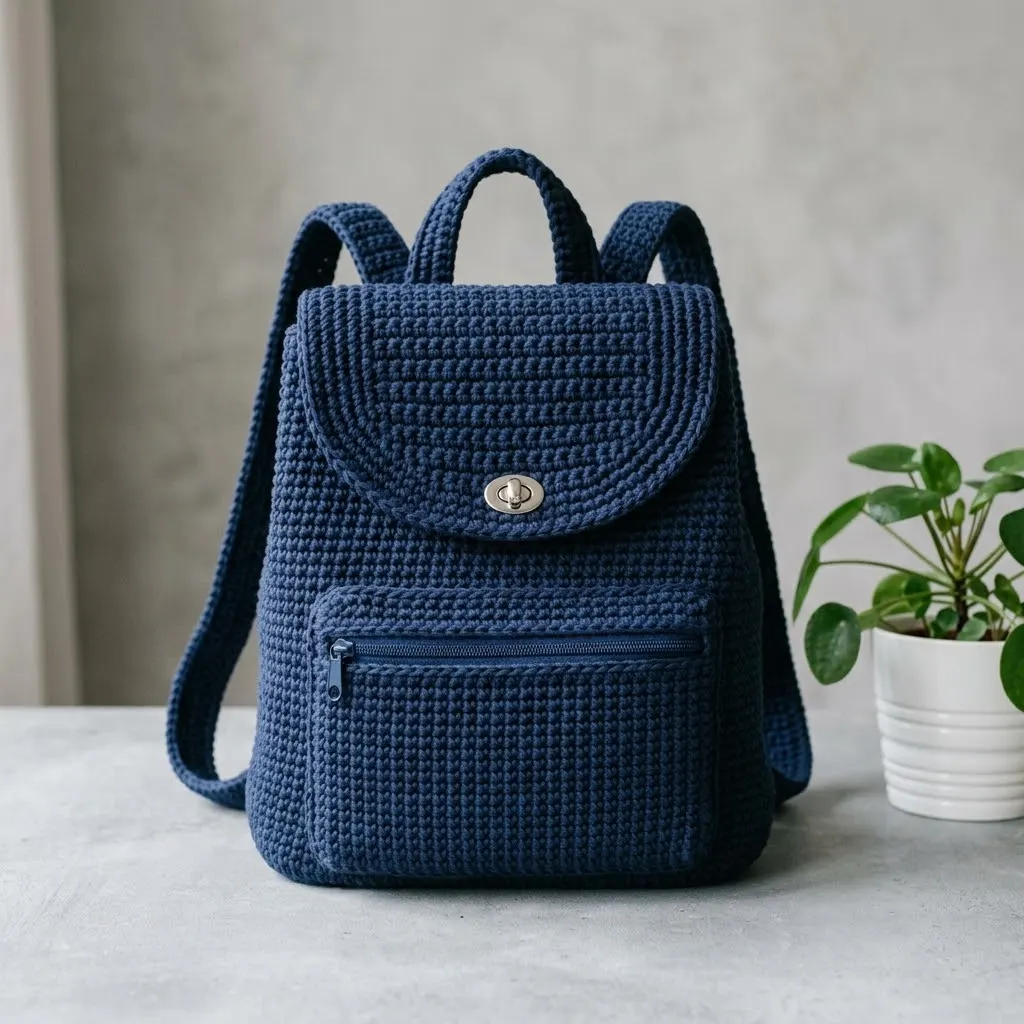
The design features a curved flap closure with a twist lock, a front zippered pocket for quick access items, comfortable adjustable straps, and a top carry handle for grabbing on the go. It looks store bought, but you made it yourself.
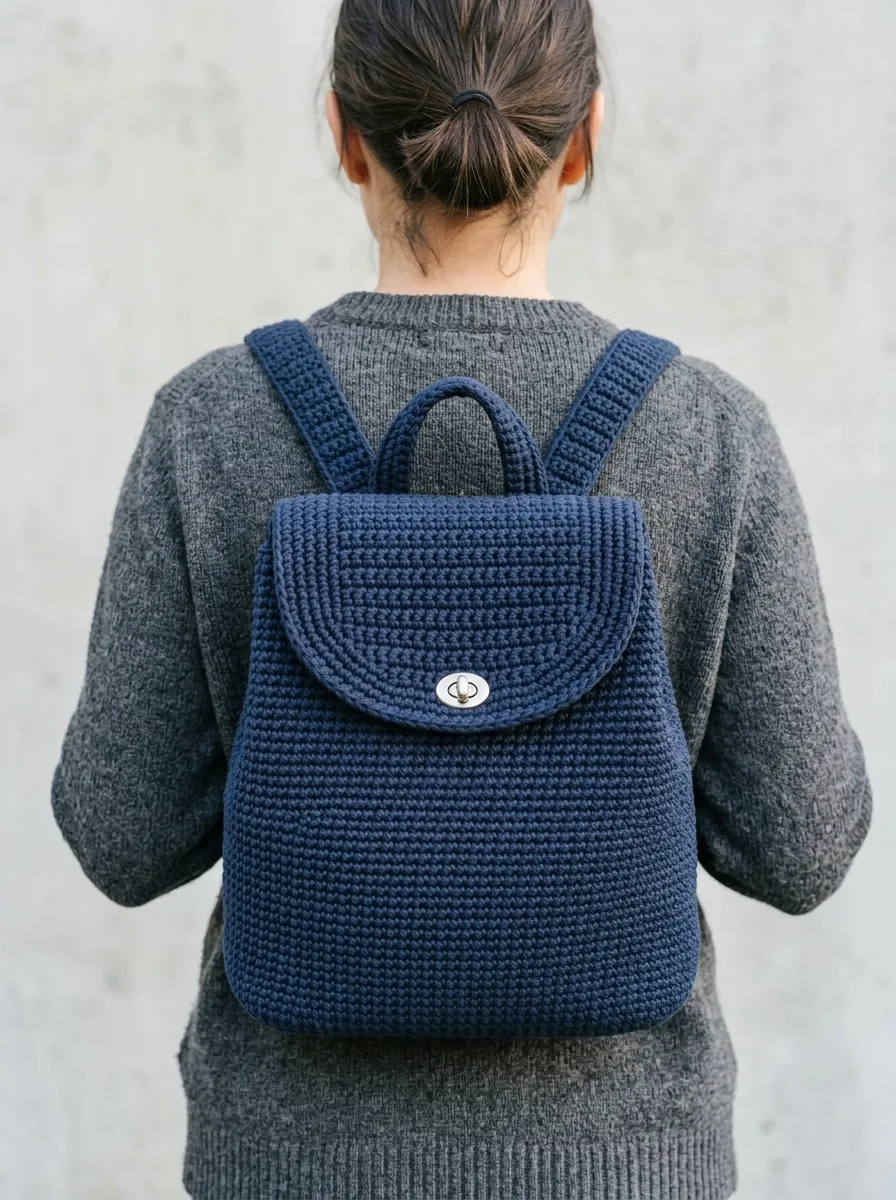
What I love most is how versatile this backpack is. Wear it to work, take it to the farmers market, pack it for travel. The navy blue color goes with everything, but you could easily make this in any solid shade that speaks to you.
Skill Level
This crochet backpack pattern is intermediate level. You should be comfortable working in the round, increasing and decreasing evenly, and seaming pieces together. If you have made amigurumi or structured bags before, you are absolutely ready for this project.
Do not let the polished look intimidate you. The stitches themselves are simple. The challenge comes from keeping your tension consistent and assembling multiple pieces. Take your time, and you will be thrilled with the results.
Finished Dimensions
- Height: Approximately 13 inches (33 cm) not including straps
- Width: Approximately 10 inches (25 cm)
- Depth: Approximately 4 inches (10 cm)
- Strap Length: Adjustable, approximately 28 inches (71 cm) each
Materials Needed
Yarn:
- Approximately 400 grams of worsted weight cotton yarn (size 4) in navy blue
- I recommend a sturdy cotton or cotton blend for structure. Acrylic will work but may stretch over time with heavy use.
Hook:
- 4.0 mm (G/6) crochet hook for a tight, sturdy fabric
- You may need to adjust your hook size to achieve proper gauge
Notions:
- 1 twist lock clasp (also called a turn lock or purse lock)
- 1 navy blue zipper, approximately 6 inches (15 cm)
- Yarn needle for weaving ends
- Stitch markers
- Sewing needle and thread to match yarn
- Optional: fabric for lining, approximately half a yard
Gauge
18 single crochet stitches and 20 rows = 4 inches (10 cm)
Gauge matters for this project because you want a tight, structured fabric that will not sag or stretch. If your stitches are too loose, size down your hook. If they are too tight and the fabric feels stiff as cardboard, size up slightly.
Abbreviations and Stitch Definitions
Let me walk you through every stitch abbreviation you will encounter in this pattern:
- ch = chain: Wrap yarn over hook, pull through loop on hook. This creates the foundation for your work.
- sl st = slip stitch: Insert hook into stitch, yarn over, pull through both the stitch and the loop on your hook in one motion. Used for joining and invisible movement.
- sc = single crochet: Insert hook into stitch, yarn over and pull up a loop (2 loops on hook), yarn over and pull through both loops. Your bread and butter stitch.
- sc2tog = single crochet two together: A decrease. Insert hook into first stitch, pull up a loop, insert hook into next stitch, pull up a loop (3 loops on hook), yarn over and pull through all 3 loops. This turns 2 stitches into 1.
- inc = increase: Work 2 single crochet stitches into the same stitch. This adds 1 stitch to your count.
- BLO = back loop only: Work your stitch into only the back loop of the previous row’s stitch. This creates a subtle ridge texture.
Pattern Notes Before You Begin
Read this section completely before starting. It will save you confusion later.
1. The body is worked in continuous spiral rounds without joining. Use a stitch marker to track the beginning of each round.
2. The flap and front pocket are worked in turned rows to create flat pieces.
3. Maintain tight, consistent tension throughout. This creates the structured look that makes the backpack so professional.
4. The textured rows on the flap and body are created by working in back loop only. This is what gives that horizontal ridge effect you see in the photos.
5. All pieces are crocheted separately then assembled at the end.
Crochet Backpack Pattern Instructions
Base of the Backpack
The base is worked in an oval shape, similar to how you would start a market bag.
Foundation: Ch 17.
Round 1: Sc in 2nd ch from hook, sc in next 14 ch, 3 sc in last ch. Working along the opposite side of the foundation chain, sc in next 14 ch, 2 sc in last ch. Place marker. (34 sts)
Round 2: Inc in first st, sc in next 14 sts, inc in next 3 sts, sc in next 14 sts, inc in last 2 sts. (40 sts)
Round 3: Sc in first st, inc, sc in next 14 sts, (sc, inc) 3 times, sc in next 14 sts, (sc, inc) twice. (46 sts)
Round 4: Sc in first 2 sts, inc, sc in next 14 sts, (sc in next 2 sts, inc) 3 times, sc in next 14 sts, (sc in next 2 sts, inc) twice. (52 sts)
Round 5: Sc in first 3 sts, inc, sc in next 14 sts, (sc in next 3 sts, inc) 3 times, sc in next 14 sts, (sc in next 3 sts, inc) twice. (58 sts)
Round 6: Sc in first 4 sts, inc, sc in next 14 sts, (sc in next 4 sts, inc) 3 times, sc in next 14 sts, (sc in next 4 sts, inc) twice. (64 sts)
Your base should measure approximately 4 inches by 10 inches. If it is significantly different, check your gauge.
Body of the Backpack
Now we build the walls by working into the back loops only for one round, then continuing normally.
Round 7: Working in BLO only, sc in each st around. (64 sts)
This creates the sharp angle between the base and the sides.
Rounds 8 to 52: Sc in each st around. (64 sts)
Continue for 45 more rounds of straight single crochet. Your body should measure approximately 9 inches tall from the base.
Texture Rounds (Optional):
For the subtle horizontal texture visible on the backpack body, work every 8th round in BLO. This creates those clean lines without interrupting the construction.
After Round 52, sl st to join and fasten off. Weave in ends.
Front Pocket
The front pocket is worked flat.
Foundation: Ch 29.
Row 1: Sc in 2nd ch from hook and in each ch across. Ch 1, turn. (28 sts)
Rows 2 to 20: Sc in each st across. Ch 1, turn. (28 sts)
After Row 20, fasten off leaving a long tail for sewing.
Your pocket should measure approximately 6 inches wide by 4 inches tall.
Adding the Zipper:
Before attaching the pocket to the body, hand sew the zipper along the top edge using a needle and matching thread. Position the zipper about half an inch down from the top edge, then fold that top edge over to create a clean finish.
Set the pocket aside.
Curved Flap
This is the beautiful rounded closure piece that gives the backpack its signature look.
Foundation: Ch 37.
Row 1: Sc in 2nd ch from hook and in each ch across. Ch 1, turn. (36 sts)
Rows 2 to 8: Sc in each st across. Ch 1, turn. (36 sts)
Rows 9 to 10: Work in BLO for texture. Sc in each st across. Ch 1, turn. (36 sts)
Rows 11 to 14: Sc in each st across. Ch 1, turn. (36 sts)
Now begin shaping the curve:
Row 15: Sc2tog, sc across to last 2 sts, sc2tog. Ch 1, turn. (34 sts)
Row 16: Sc in each st across. Ch 1, turn. (34 sts)
Rows 17 to 28: Repeat Rows 15 and 16, decreasing at each end on odd rows. After Row 28 you should have (22 sts).
Rows 29 to 34: Sc2tog at beginning and end of every row. (10 sts after Row 34)
Fasten off leaving a long tail. The flap should have a gentle rounded bottom edge.
Shoulder Straps (Make 2)
Each strap is worked as a long narrow strip.
Foundation: Ch 8.
Row 1: Sc in 2nd ch from hook and in each ch across. Ch 1, turn. (7 sts)
Rows 2 to 140: Sc in each st across. Ch 1, turn. (7 sts)
This creates a strap approximately 28 inches long. Adjust length to your preference.
Fasten off and weave in ends.
Top Carry Handle
Foundation: Ch 8.
Row 1: Sc in 2nd ch from hook and in each ch across. Ch 1, turn. (7 sts)
Rows 2 to 36: Sc in each st across. Ch 1, turn. (7 sts)
Fasten off leaving long tails on both ends for attaching.
Assembly Instructions
Take a deep breath. You have made all the pieces. Now we put them together.
Step 1: Attach the Front Pocket
Position the zippered pocket on the front of the backpack body, approximately 2 inches up from the base. Pin in place. Using your yarn needle and a length of navy yarn, whip stitch around the sides and bottom edge, leaving the zippered top open.
Step 2: Attach the Flap
Center the straight edge of the flap along the back top of the backpack body. The flap should fold forward over the opening. Whip stitch securely in place.
Step 3: Install the Twist Lock
Position the female part of the twist lock on the front of the backpack body, centered, about 4 inches down from the top edge. Mark the placement, then carefully cut small slits in the fabric for the prongs. Push the prongs through and secure on the inside.
Attach the male part (the turning piece) to the inside bottom center of the flap, matching the position when the flap is closed.
Step 4: Attach the Shoulder Straps
Position the top of each strap on the back of the backpack, just below the flap attachment, approximately 3 inches apart. Sew very securely using multiple passes.
Attach the bottom of each strap to the bottom corners of the back of the backpack.
Step 5: Attach the Top Handle
Fold the handle piece in half to create a loop. Position both ends centered on the back of the backpack at the very top edge, behind where the flap attaches. Sew securely.
Step 6: Optional Lining
For extra durability and a polished interior, cut fabric lining to match your backpack’s interior dimensions. Hand sew it inside, folding raw edges under for a clean finish.
Helpful Tips for Success
Keep your tension tight. I cannot stress this enough. Loose stitches will result in a floppy bag that does not hold its shape.
Block your pieces before assembly. Wet blocking or steam blocking helps even out your stitches and makes everything easier to sew together.
Use pins generously. When attaching pieces, pin them in place first and try on the backpack to check strap length and pocket placement before committing.
Reinforce stress points. The strap attachments and twist lock area take the most wear. Sew these areas multiple times and consider adding a fabric backing on the inside for extra strength.
Customization Ideas
This crochet backpack pattern works beautifully as a canvas for your creativity:
- Add a contrasting color for the straps and handle
- Embroider initials on the front pocket
- Try a variegated cotton for a unique look
- Add interior pockets by sewing in divided lining fabric
- Use leather straps instead of crocheted ones for a different aesthetic
Final Thoughts on This Crochet Backpack Pattern
Creating this Navy Blue Coastal Crochet Backpack has been one of my most satisfying projects. It is practical, beautiful, and impressive enough to make friends ask where you bought it. The step by step construction might seem involved at first, but each piece builds on simple stitches you already know.
Take your time with this crochet tutorial. Work through each section carefully, and before you know it, you will have a handmade backpack you will reach for every single day. Whether you are a confident intermediate crocheter looking for your next challenge or a determined beginner ready to level up, this pattern will teach you so much about structured crochet construction.
Thank you so much for choosing this pattern. I genuinely hope it brings you as much joy to make as it brought me to design. If you complete your backpack, I would absolutely love to see it. Tag me on Instagram or share it in our Facebook group. Seeing your finished projects is the best part of sharing patterns.
If this pattern inspired you, save it to your Pinterest boards so you can find it when you are ready to start. And please, drop a comment below if you make one. I read every single comment and love hearing how your projects turn out. Happy crocheting, friend.
You Might Also Like
- Navy Blue Velvet Monstera Crochet Plant Free Pattern
- Espresso Brown Cabin Cozy Slipper Boots Free Crochet Pattern
- Navy Anchor Nautical Baby Blanket Free Crochet Pattern
- Navy Blue Coastal Tassel Clutch Free Crochet Pattern